Dirty grout can make an otherwise clean bathroom or kitchen look neglected. The good news: you usually don’t need to replace the grout or spend hours scrubbing every line with a toothbrush. A simple cleaning mixture, a little patience, and the right technique can make old grout look noticeably cleaner.
The trick comes down to loosening the grime before you start scrubbing.
Start by removing surface dirt
Before applying anything to the grout, sweep or wipe the area to remove loose dust, hair, crumbs and other debris. If you’re cleaning bathroom grout, wipe away soap residue and any loose dirt with warm water.
This first step matters because dirt sitting on top of the grout can turn into a muddy mess once you add your cleaning solution.
Give the surface a few minutes to dry before moving on.
Make a simple baking soda paste
For most everyday grout stains, baking soda and water provide a good starting point.
Mix about three parts baking soda with one part water until you get a thick paste. It should spread easily but shouldn’t be runny.
Apply the paste directly along the grout lines. You don’t need to cover the entire tile surface. Concentrate on the areas that look gray, brown or noticeably darker than the surrounding grout.
Let the paste sit for around 10 to 15 minutes. This gives it time to loosen some of the grime.
Scrub with the right brush
Now comes the part most people associate with grout cleaning: scrubbing.
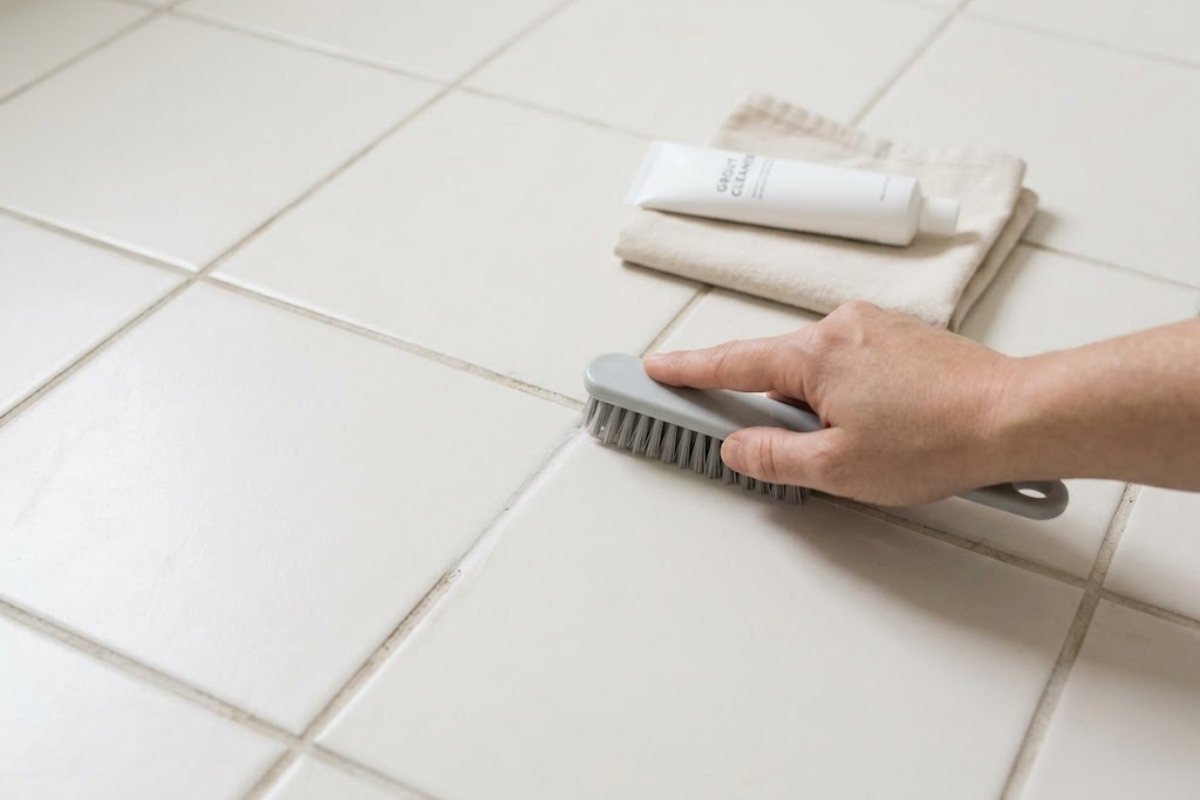
Use a stiff nylon brush or an old toothbrush and work along the grout lines with short back-and-forth strokes. A grout brush can make the job easier if you’re cleaning a large tiled floor.
Don’t press so hard that you damage the grout. Several moderate passes usually work better than attacking one dirty spot with excessive force.
For floor grout, work in small sections. Clean one section, wipe it away, then move to the next.
Wipe away the dirty paste
After scrubbing, wipe the area with a damp microfiber cloth or sponge. You may need to rinse the cloth several times because the loosened grime can spread across the tiles.
Take a look at the grout once the surface dries slightly. If it looks much cleaner but still has darker patches, repeat the baking soda treatment rather than immediately reaching for a stronger cleaner.
Some stains have built up over years, so one pass may not remove everything.
For stubborn bathroom grime, try hydrogen peroxide
If baking soda alone doesn’t do enough, hydrogen peroxide can help with certain stubborn stains.
Mix baking soda with a small amount of 3% hydrogen peroxide to create a spreadable paste. Apply it to the grout, leave it for several minutes, then scrub gently with a nylon brush.
Always test the mixture on a small, inconspicuous area first. Different tile and grout materials can react differently to cleaning products.
Never mix hydrogen peroxide with other household cleaners unless the product instructions specifically say it’s safe.
Don’t use vinegar on every type of tile
Vinegar often gets recommended as an all-purpose grout cleaner, but it’s not suitable for every tiled surface. Acidic cleaners can damage natural stone such as marble, limestone and travertine.
If your tile involves natural stone, check the manufacturer’s cleaning instructions before using vinegar or another acidic product.
For ordinary ceramic or porcelain tile with standard grout, stick with a mild cleaning approach unless the grout manufacturer recommends something else.
Finish with a clean-water rinse
Once you’ve finished scrubbing, give the area a thorough rinse with clean water. Leftover baking soda or cleaning solution can leave behind a hazy film.
Dry the tiles with a clean microfiber cloth. As the grout dries, its actual color will become easier to judge.
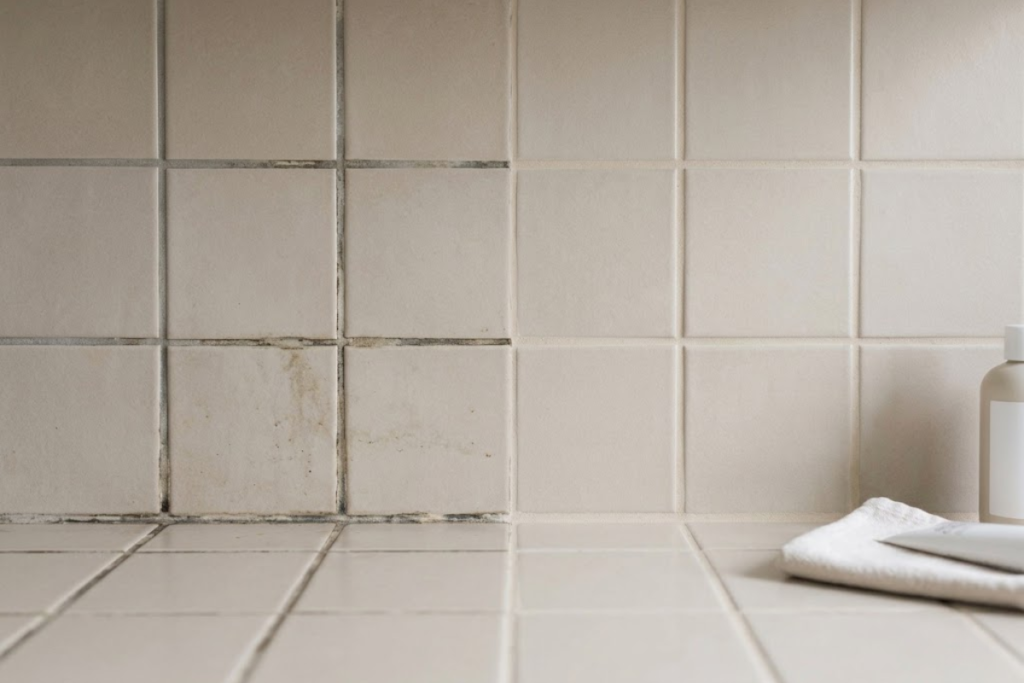
If the grout still looks discolored after several cleaning attempts, the problem may not simply be surface dirt. Old grout can develop permanent staining, mildew damage or discoloration that cleaning alone won’t completely remove.
Keep the grout cleaner for longer
Once you’ve brought the grout back to a cleaner appearance, a little regular maintenance can prevent the same buildup from returning.
Wipe shower walls after use, clean bathroom floors regularly and deal with spills on kitchen floors before they have time to soak into porous grout. A quick weekly scrub can also save you from having to tackle a much bigger cleaning job later.
For particularly porous grout, a suitable grout sealer can also help reduce future staining. Check that the sealer matches your grout and tile before applying it.
The easiest approach usually starts with something already sitting in the kitchen cupboard: baking soda, water and a bit of elbow grease. Give the mixture time to loosen the grime, scrub gently, rinse thoroughly and repeat where necessary. Old grout may not become perfect again, but it can often look considerably cleaner without replacing it.