Old kitchen tiles can make an otherwise tidy kitchen look tired, especially when years of cooking leave behind grease, stains, dull grout, and layers of residue. Replacing the tiles can cost a lot of money and create a messy project. In many cases, a thorough cleaning and a few simple fixes can make the existing tiles look much fresher.
The trick comes down to dealing with the right type of dirt rather than simply scrubbing harder.
1. Start With a Degreasing Solution
Kitchen tiles often collect a thin film of cooking grease that regular soap may not remove completely. Over time, that film can make tiles look yellow, cloudy, or dull.
Mix warm water with a small amount of dish soap and use a microfiber cloth or soft sponge to wipe the tiles. For heavier grease, use a kitchen-safe degreaser according to its label instructions.
Work in small sections rather than covering the entire wall at once. Wipe with a clean damp cloth afterward to remove leftover cleaner.
2. Give Grout Lines Extra Attention
Dirty grout can make clean tiles look old. Grout tends to collect grease, food particles, and dust because its rough surface traps more debris than glazed tile.
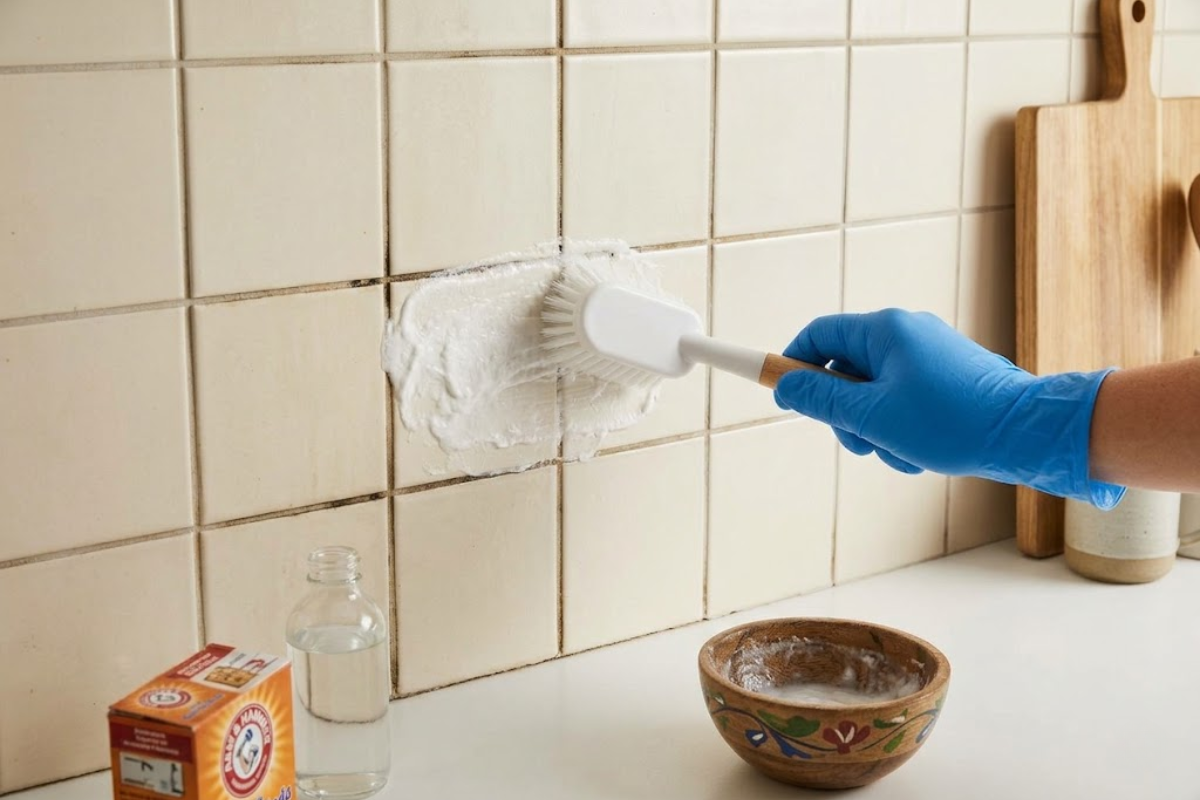
For routine grime, apply a paste made from baking soda and water. Leave it for several minutes, then gently scrub with an old toothbrush or soft grout brush.
Avoid aggressive scrubbing on damaged grout. Excessive pressure can loosen crumbly areas and leave the joints looking worse.
3. Deal With Hard Water Marks
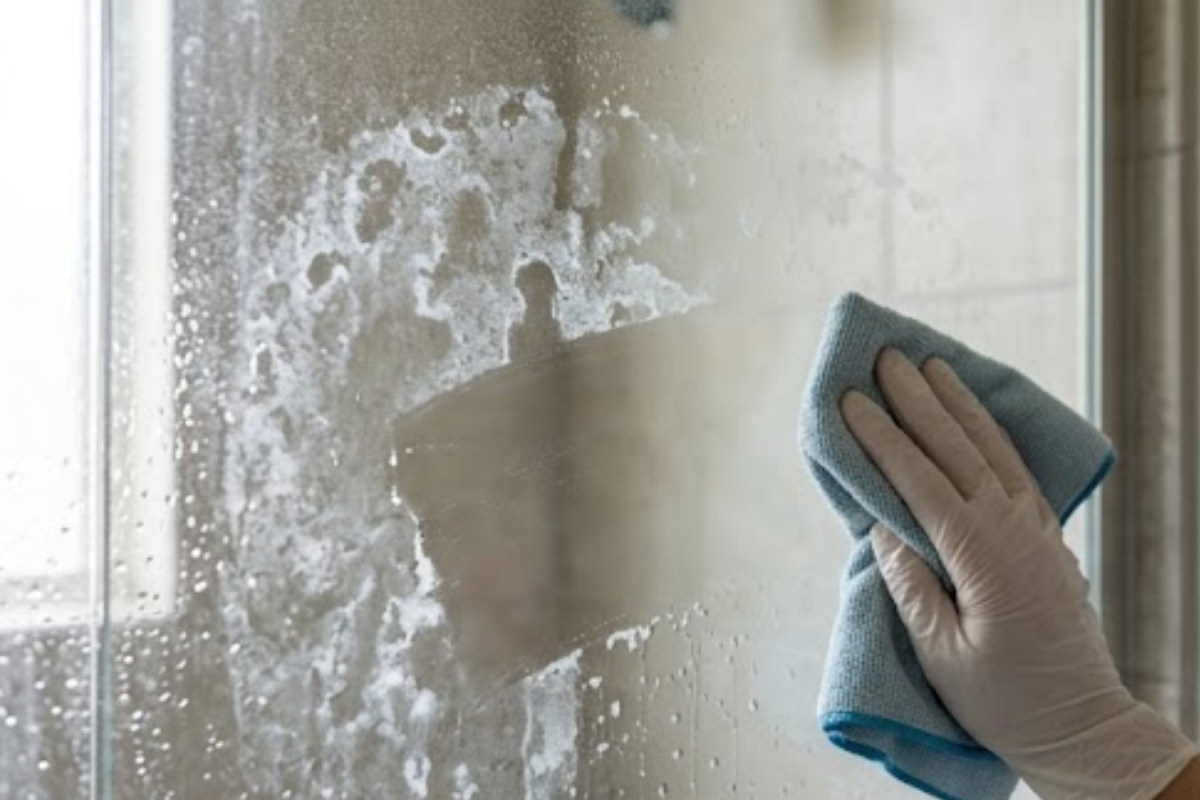
If your kitchen has hard water, mineral deposits can leave white or cloudy marks on tiles, particularly around sinks and areas that regularly get splashed.
For suitable ceramic or porcelain tiles, diluted white vinegar can help break down mineral residue. Apply it with a cloth, leave it briefly, then rinse thoroughly.
Avoid vinegar on natural stone tiles such as marble, limestone, or travertine. Acidic cleaners can damage those surfaces. When in doubt, check the tile manufacturer’s cleaning instructions.
4. Remove Stubborn Food and Grease Stains
Some stains need more time rather than more force.
Apply a paste of baking soda and water to the stained area and allow it to sit for around 10 to 15 minutes. Gently scrub with a non-abrasive sponge and rinse.
For very stubborn grease, a small amount of dish soap or a suitable kitchen degreaser can work better than abrasive powders. Avoid steel wool and harsh scouring pads, which can scratch certain tile finishes.
5. Clean the Tile Edges and Corners
The areas around countertops, cabinets, appliances, and corners often collect grime that gets missed during regular cleaning.
Use a narrow cleaning brush, old toothbrush, or cotton swab for tight spaces. Pay particular attention to the bottom edges of backsplash tiles, where grease and dust can accumulate.
Cleaning these small areas can make the whole backsplash look noticeably tidier.
6. Don’t Forget the Area Behind the Stove
The tiles behind a stove usually take the most punishment from cooking. Oil splatters can form a sticky layer that becomes harder to remove with time.
Place a warm, damp cloth over greasy spots for a few minutes. The heat and moisture can soften the residue before cleaning. Follow with dish soap or a kitchen degreaser and wipe clean.
Repeat the process instead of trying to remove years of buildup in one aggressive scrub.
7. Rinse Away Cleaning Residue
Sometimes tiles look dull because cleaning products have been left behind.
After using soap, degreaser, or baking soda, wipe the surface with clean water. Follow with a dry microfiber cloth to remove moisture and any remaining film.
This simple step can make glossy tiles look noticeably clearer.
8. Refresh Discolored Grout
When grout remains stained after cleaning, a grout touch-up product can provide a cleaner appearance without replacing the tiles.
Choose a product compatible with your existing grout and follow the preparation instructions carefully. Clean and dry the grout before applying anything over it.
For small areas, this approach can take far less effort than removing and regrouting an entire backsplash.
9. Clean in the Right Order
A useful routine starts from the top and works downward. Clean the upper tiles first, then move toward the countertop and floor.
Use clean water when rinsing and change the cloth once it becomes greasy. Otherwise, you can end up spreading residue from one section to another.
For everyday maintenance, wiping cooking splashes soon after they happen can prevent another thick layer of buildup.
10. Know When Cleaning Isn’t Enough
Cleaning can remove grease, dirt, food residue, and mineral deposits, but it cannot repair cracked tiles, deep chips, badly damaged grout, or a permanently worn surface.
Even then, replacing every tile may not be necessary. A few damaged tiles or small sections of grout can sometimes receive individual repairs.
For older kitchen tiles that remain structurally sound, a deep clean, refreshed grout, and regular maintenance can make a noticeable difference without the expense and disruption of a full replacement.