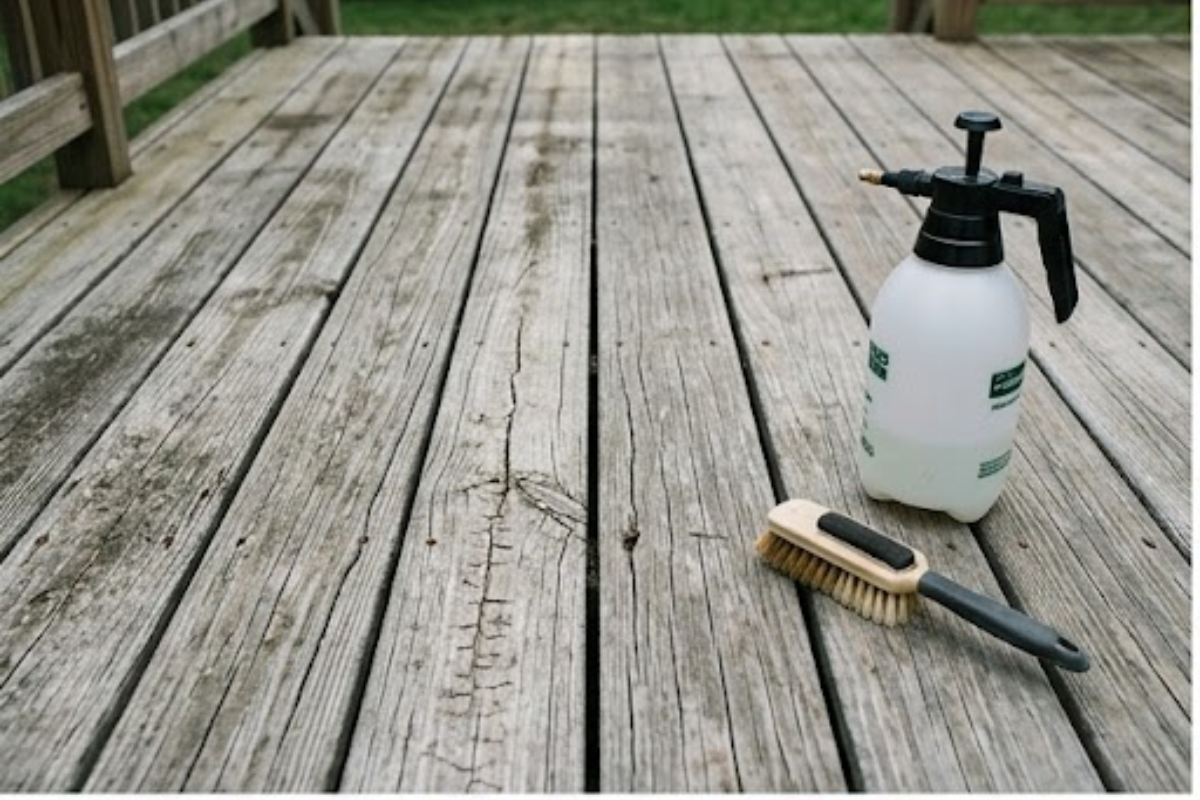
A tired deck can change the feel of an entire backyard. Faded boards, peeling stain, and years of exposure to sun and rain often leave outdoor spaces looking neglected. The good news is that many aging decks don’t need to be replaced. With the right approach, a DIY restoration project can refresh the surface, improve safety, and make the area enjoyable again.
Whether the goal involves weekend barbecues, quiet mornings with coffee, or a comfortable place to relax after work, restoring a deck often costs far less than building a new one. Many homeowners complete the project over a few weekends using common tools and readily available materials.
Start with a careful inspection
Before buying stain or paint, spend time checking the deck from top to bottom. Cosmetic problems may look serious, but structural issues deserve attention first.
Look for:
- Loose or raised nails and screws
- Cracked or warped boards
- Soft spots caused by moisture
- Loose railings
- Signs of rot around support posts and joists
Replace damaged boards before moving forward. Tightening loose fasteners and repairing unstable railings creates a safer workspace and delivers better results once the finish goes on.
Give the deck a deep cleaning
Years of dirt, mildew, pollen, and old finishes can prevent fresh stain from bonding properly.
Begin by sweeping away leaves and debris. A deck cleaner helps loosen stubborn grime and old stains. Many people scrub the surface with a stiff-bristle brush, although a pressure washer may speed up the job when used carefully.
Too much pressure can damage wood fibers, so keep the nozzle moving and avoid holding it too close to the boards. Once cleaning is complete, allow the deck to dry fully before making repairs or applying new finishes.
Sand rough areas for a smoother finish
Cleaning often reveals rough patches, splinters, or peeling stain. Sanding creates a more even surface and helps new stain or paint adhere properly.
Focus on:
- High-traffic areas
- Raised grain
- Splintered edges
- Places where old stain remains
A handheld orbital sander works well for most homeowners. Railings and corners may require sanding by hand.
Remove dust after sanding so the finish can bond directly to the wood.
Choose the right finish
Deck finishes come in several styles, each offering a different appearance.
Transparent stains allow the wood grain to remain visible while adding color and weather protection. Semi-transparent stains provide a little more coverage without completely hiding the natural look. Solid stains resemble paint but soak into the wood instead of forming a thick surface layer.
Paint offers bold color choices, although it may require more maintenance if peeling develops over time.
Think about the deck’s condition before making a decision. Older wood with uneven coloring often looks better with a solid stain, while newer lumber may benefit from a lighter finish that lets the grain show through.
Apply stain with patience
Good weather makes a noticeable difference. A mild, dry day with moderate temperatures usually produces the best results.
Work on a few boards at a time instead of covering random sections. Following the grain helps create an even appearance, while thin coats reduce puddles and blotches.
Allow each coat to dry according to the manufacturer’s instructions before deciding whether another coat would improve coverage.
Taking extra time during this step often leads to a cleaner, more professional-looking result.
Don’t overlook the small details
Fresh stain alone won’t completely transform the space.
Simple updates can change the overall appearance without adding much to the budget.
Ideas include:
- Replacing worn hardware
- Painting railings
- Installing solar deck lights
- Adding outdoor rugs
- Refreshing planters
- Updating outdoor furniture cushions
These finishing touches help the restored deck feel welcoming rather than simply repaired.
Keep the deck looking its best
Regular maintenance helps protect all the work invested in the restoration.
Sweep away leaves before they trap moisture. Wash the deck once or twice each year to remove dirt and mildew. Check for loose boards or screws after storms or seasonal temperature changes.
Water no longer beading on the surface often signals that another coat of stain may soon be needed. Addressing small issues early usually prevents larger repairs later.
A rewarding weekend project
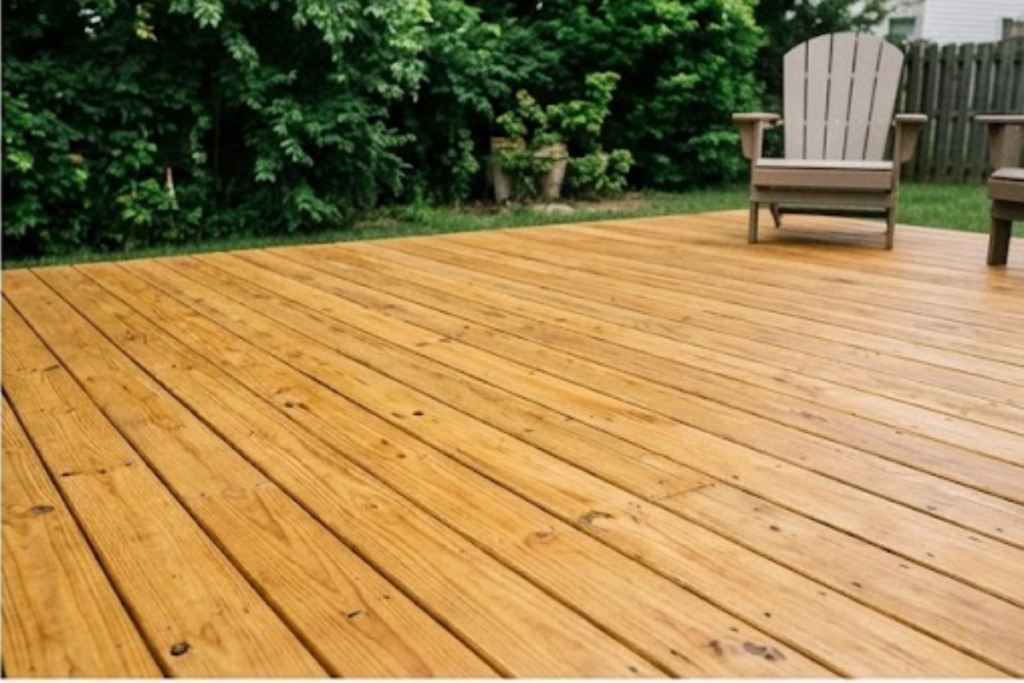
DIY deck restoration combines practical repairs with visible results. Watching faded boards regain their color can completely change the atmosphere of a backyard without the expense of a full replacement.
Most projects require more patience than specialized skills. Careful preparation, quality materials, and steady work often produce a deck that looks refreshed and remains ready for many more seasons outdoors.
Instead of viewing weathered wood as something that needs replacing, many homeowners discover that a little effort can bring an old deck back into regular use. A cleaner, safer, and more inviting outdoor space may only be a few weekends away.